Facial cleansing: why is it important and how to do it correctly?
Step 1: Remove Makeup
The first step of any facial cleansing routine is to remove makeup. Makeup can clog pores and prevent the skin from properly absorbing cleansing agents, so it must be removed before cleansing. There are several types of makeup removers, including makeup remover wipes, micellar water, or an oil cleanser.
Makeup remover wipes are convenient and easy to use, but they can be harsh on the skin and leave residue behind. Micellar water is a gentle, water-based solution that removes makeup without drying out the skin. Oil-based cleansers are also effective at removing makeup because they dissolve oil-based products such as mascara and foundation.
To remove makeup, start by applying your chosen makeup remover to a cotton pad. Gently press the pad onto closed eyes and hold for a few seconds to allow the remover to dissolve the makeup. Then swipe the pad over the eyes, trying not to rub or irritate the delicate skin. Repeat this process until all makeup is removed.
Step 2: First Cleanse
Once makeup has been removed, it’s time for the first cleanse. The first cleanse helps dissolve any remaining impurities, including dirt, oil, and dead skin cells, and prepares the skin for the second, deeper cleanse. There are several ways to do a first cleanse, including cleansing milks, cleansing oils, and micellar water.
Cleansing milk is a more luxurious option; it absorbs into the skin and dissolves impurities, leaving the skin soft and nourished. Cleansing oils work similarly, breaking down and removing impurities while leaving the skin hydrated and cared for. Micellar water can also be used before deep cleansing, as it helps dissolve dirt and oil without stripping the skin’s natural oils.
Before cleansing, apply a small amount of your chosen facial cleanser to dry skin and massage it in using gentle circular motions. Be sure to cover the entire face, including the forehead, cheeks, nose, and chin. Then use a warm, damp cloth to gently wipe away all visible and invisible impurities.
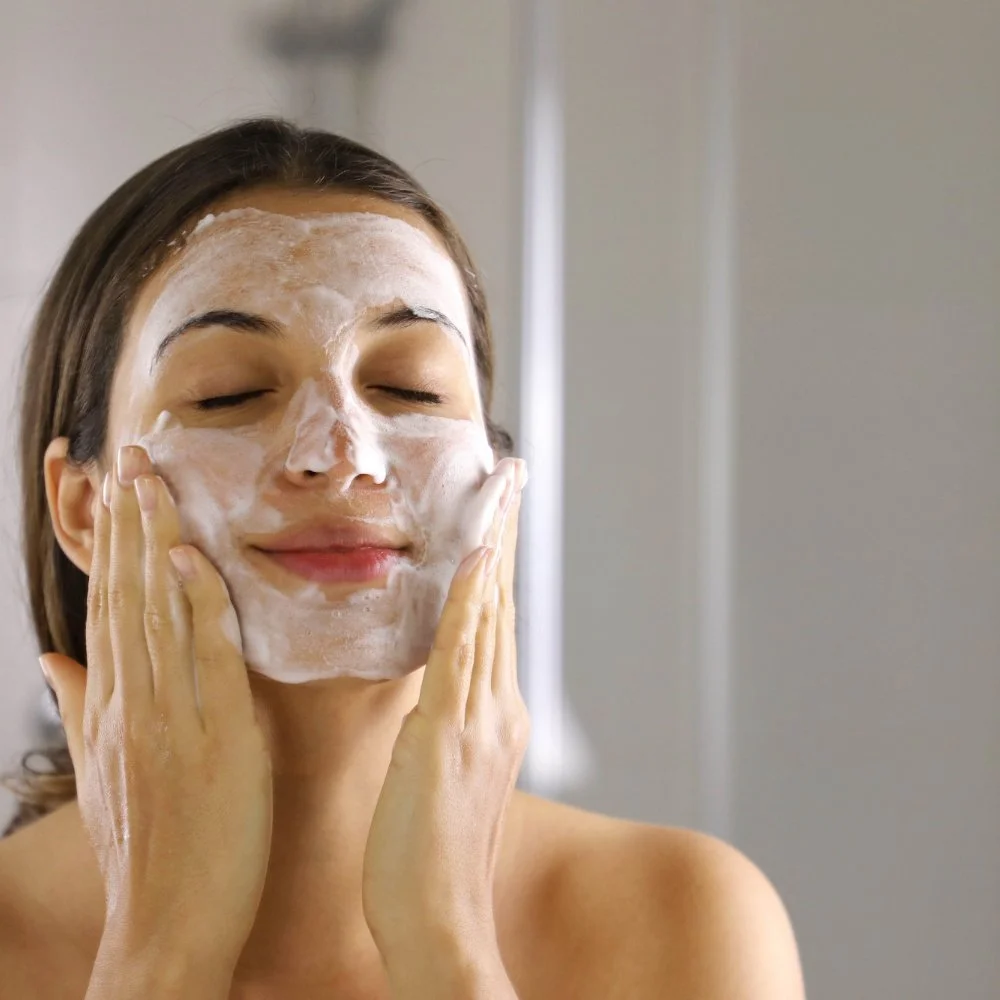
Step 3: Deep Cleansing (Washing)
The next step in your facial cleansing routine is deep cleansing, or washing. Cleansing removes any remaining impurities and helps clear pores, helping to prevent breakouts and promoting healthy skin cell turnover. There are several types of facial cleansers, including foaming, gel, cream, and oil-based formulas.
Foaming cleansers are a popular choice for oily or acne-prone skin, as they help remove excess oil and unclog pores. Gel cleansers are a good choice for combination skin, as they help balance oil production while hydrating the skin. Cream cleansers are ideal for dry or sensitive skin because they are gentle and nourishing. Oil cleansers effectively remove makeup and impurities, leaving the skin soft and hydrated.
Apply a small amount of your chosen cleanser to damp skin and massage it in with gentle circular motions. Be sure to cleanse the entire face, including the forehead, cheeks, nose, and chin. Rinse off the cleanser with warm water, making sure to remove all traces of the product.
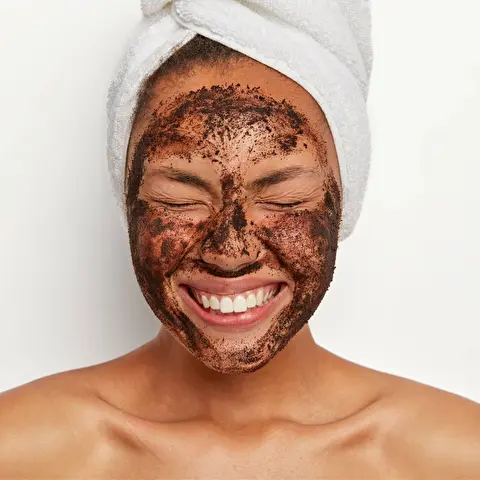
Step 4: Exfoliation
Exfoliation helps remove dead skin cells and promotes healthy skin cell turnover. There are two main types of exfoliators: physical exfoliators and chemical exfoliators.
Physical exfoliators, such as scrubs or brushes, use friction to remove dead skin cells. Chemical exfoliators use acids such as alpha-hydroxy acids (AHAs) or beta-hydroxy acids (BHAs) to dissolve dead skin cells.
To exfoliate, apply a small amount of your chosen facial exfoliator to damp skin and massage it in using gentle circular motions. Be sure to cover the entire face, but avoid the delicate skin around the eyes. Rinse off the exfoliant with warm water, making sure to remove all traces of the product.
It’s important not to over-exfoliate, as this can irritate and damage the skin. Most skin types should exfoliate no more than 2–3 times per week.
Read more about the benefits of facial exfoliation, how often to exfoliate, and possible exfoliation techniques here.
Step 5: Toning
After cleansing and exfoliating, it’s important to balance the skin’s pH level with a toner. Toner helps remove any remaining impurities and prepares the skin for the next steps in your skincare routine.
There are several types of toners, including hydrating toners, exfoliating toners, and pH-balancing toners. Hydrating toners help soothe and moisturize the skin, while exfoliating toners help remove dead skin cells and clear pores. pH-balancing toners help restore the skin’s natural pH level, protecting against dryness and irritation.
To tone, apply a small amount of your chosen toner to a cotton pad and sweep it over the entire face, avoiding the delicate skin around the eyes. Allow the toner to dry before moving on to the next step of your skincare routine.
Step 6. Targeted Care
After cleansing, exfoliating, and toning, it’s time to address specific skin concerns with targeted treatments. There are many different treatments available, including serums, spot treatments, and masks.
Serums are concentrated formulas designed to target specific skin concerns such as fine lines, wrinkles, or hyperpigmentation. Read more about face serums and why it’s important to include them in your skincare routine here.
Spot treatments are used to treat specific blemishes or breakouts, and face masks can help hydrate, brighten, or cleanse the skin.
To apply a treatment, use a small amount of your chosen product on the targeted area or the entire face, depending on the product. For best results, follow the instructions on the product label.
Step 7: Moisturizing
The final step in any facial cleansing routine is moisturizing the skin. Moisturizing helps hydrate and nourish the skin, protects it from dryness, and promotes a healthy, radiant complexion. Read more about the importance of moisturizing here.
There are several types of moisturizers, lotions, and oils. Creams are thicker and more hydrating, making them a good choice for dry or mature skin. Lotions are lighter and less hydrating, making them suitable for oily or acne-prone skin. Oils are nourishing and can be used alone or layered under a moisturizer.
To moisturize, apply a small amount of your chosen moisturizer to the entire face using gentle upward motions. Don’t forget to moisturize the neck and décolletage, as these areas are often neglected, yet signs of aging can appear there just as strongly as on the face.
It’s important to choose a face cream that suits your skin type. If your skin is oily or acne-prone, look for an oil-free, lightweight moisturizer. If your skin is dry or mature, look for a rich, deeply hydrating moisturizer.
Additional step: Sun protection
Although technically not part of a facial cleansing routine, it’s important to protect your skin from harmful UV rays. Sun damage can cause premature aging, wrinkles, and even skin cancer.
Choose a broad-spectrum sunscreen with an SPF of at least 30 and apply it daily to your face, neck, and other exposed areas of skin. Reapply sunscreen every two hours, or more often if you’re swimming or sweating. Read more about what SPF is and how to understand it here.
In conclusion
The best facial cleansing routine is the one tailored to your individual skin type and concerns. By following these seven steps, you can create a personalized skincare routine that leaves your skin clean, hydrated, and nourished. Here you’ll find expert tips for daily skincare.
Remember to cleanse and exfoliate gently, as over-cleansing or over-exfoliating can damage the skin. It’s also important to follow your skincare routine consistently, as regular use of high-quality products is essential for achieving healthy, glowing skin.
All it takes is a little patience and dedication-only then can you achieve the clean, radiant complexion you’ve always wanted.